Excel Power Query is a powerful, no-code/low-code tool that allows you to combine and transform data from multiple sources in a repeatable and refreshable way. One common use case is merging two Excel files or worksheets based on multiple matching columns, similar to a SQL join. Power Query is a major part of Power BI, but it can be used in Excel.
When to Use Power Query for Merging
Power Query is ideal when:
- You receive recurring Excel files with the same structure
- You need a reliable, refreshable merge process
- You want to avoid complex formulas like
VLOOKUPorXLOOKUPacross many columns
Step-by-Step Overview
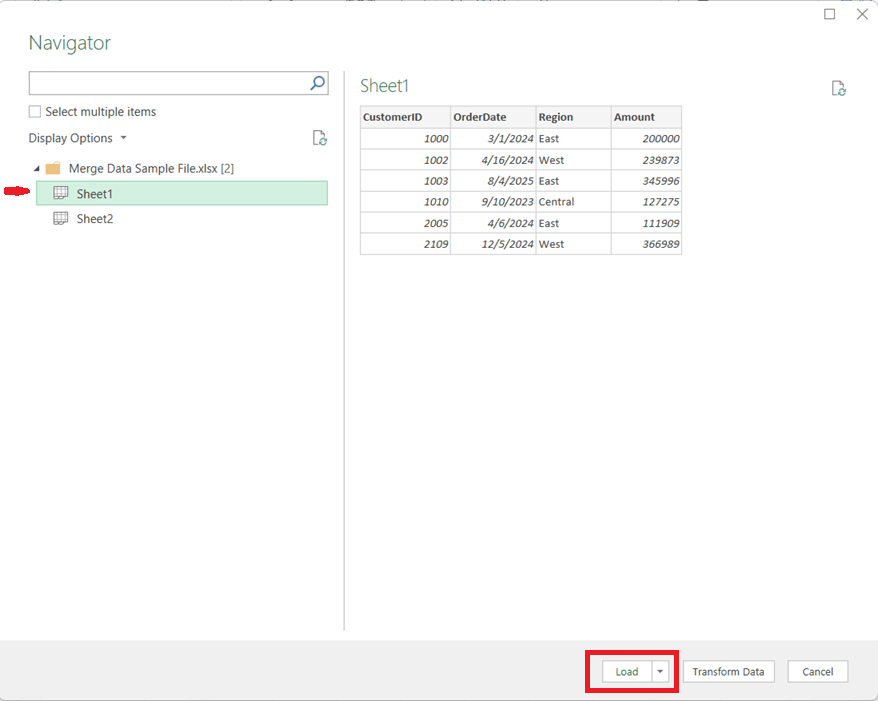
1. Load Both Data Sources into Power Query
- Open Excel and go to Data → Get Data
- Choose From Workbook (for separate files) or From Table/Range (for sheets in the same file)

Tip: Ensure the columns you plan to merge on have the same data types (e.g., text vs. number).
- Load each dataset into Power Query as a separate query

2. Start the Merge Operation
- In Power Query, select the primary table
- Go to Query → Merge Queries

- Choose the secondary table from the dropdown
3. Select Multiple Matching Columns
- Click the first matching column in the primary table
- Hold Ctrl (or Cmd on Mac) and select additional matching columns
- Repeat the same column selections in the secondary table, in the same order
For example, if you needed to perform the merge on CustomerID, OrderDate, and Region, you would click Customer ID, then hold the Ctrl key and click OrderDate, then (while still holding down the Ctrl key) click Region.
Power Query treats this as a composite key, and all selected columns must match for rows from both tables to merge.

4. Choose the Join Type
Select the appropriate join kind:
- Left Outer – Keep all rows from the first table (most common) and brings in the values for the matching rows from the second table
- Inner – Keep only matching rows from both tables
- Full Outer – Keep all rows from both tables, merging the table where there is a match and having just the values from the respective tables when there is no match
Click OK to complete the merge.
5. Expand the Merged Data
- A new column appears containing nested tables
- Click the expand icon to select which columns to bring in
- Remove unnecessary columns to keep the dataset clean

6. Load and Refresh
- Click Close & Load
- The merged dataset is now available in Excel
- When source files change, simply click Refresh to update everything automatically
Key Benefits
- Handles multi-column joins cleanly and reliably
- Eliminates fragile lookup formulas
- Fully refreshable and auditable
- Scales well as data volume grows
In Summary
Using Power Query to merge Excel data on multiple columns brings database-style joins into Excel, making your workflows more robust, maintainable, and professional. Once set up, it saves time and reduces errors—especially for recurring reporting and analytics tasks.
Thanks for reading!
