Category: Business Intelligence Platform

Disallow online RPD updates in OBIEE

You may want to disable online updates on your OBIEE RPD for performance reasons or because you have a specific development process that prohibits online updates.

To disallow online RPD updates, do the following:
Log into Enterprise Manager. Navigate the tree menu to Business Intelligence -> coreapplication.  Click tabs “Capacity Management”, and “Performance”.

Under the RPD Updates section, check the box for “Disallow RPD updates”.

disallowRPD_updates

This will prevent online RPD updates for all.

If you want to allow a select group of people to have access to perform online updates, such as a lead developer or administrator, then don’t do the above, but instead provide Administrator role to those that should have the access, and remove it from those that should not (and give them BI Author role for example instead).


Installing Qlik Sense 3.0 Desktop

This post will guide you through the steps for installing Qlik Sense 3.0 Desktop.

Visit this link to get information on installation requirements and steps:
Installing Qlik Sense Desktop Information

You will get to information such as that shown in the screenshot below …
QlikSense_Installation_installresourceslinks

Click on “System requirements” and “Browser support” to get information on system and browser requirements before starting the installation.  System requirements will show operating system, processor, memory and disk space requirements among other things. And browser support will specify the browsers required for each supported OS.

QlikSense_Installation_systemreqs
Click on “Obtaining the setup file” to access the installation file

QlikSense_Installation_downloadlink
Click “Download Qlik Sense Desktop”

QlikSense_Installation_FREEDOWNLOAD
Click the FREE DOWNLOAD button

QlikSense_Installation_downloading
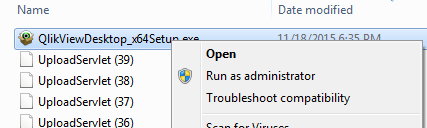
After the download is complete, navigate to the folder where you saved the file.

QlikSense_Installation_runinstall
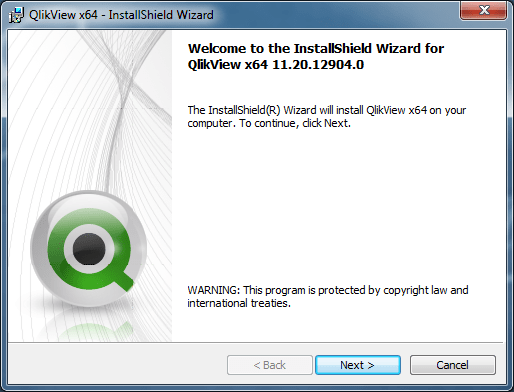
Run the setup executable (Qlik_Sense_Desktop_setup.exe) by double-clicking on it.  In some cases, it is best to right-click on the setup executable, and “Run as administrator”.

QlikSense_Installation_dotnetframework
Click on “Accept and Install” to acknowledge that Microsoft .NET Framework will be installed and continue to installation process.

QlikSense_Installation_install
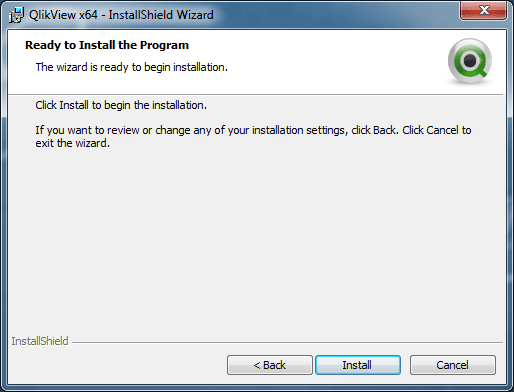
Close all other applications, and click Install.

QlikSense_Installation_license
Accept the license agreement and click Next.

QlikSense_Installation_shortcuts
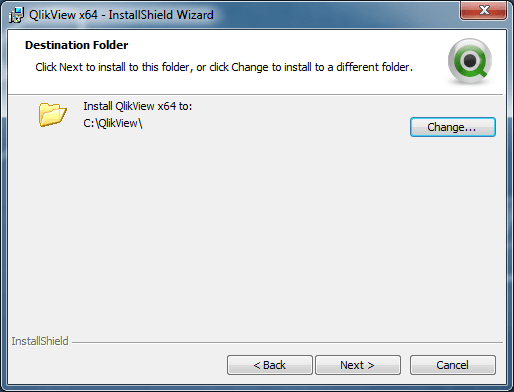
If desired, check “Create desktop shortcuts”.  Click Install.

QlikSense_Installation_complete
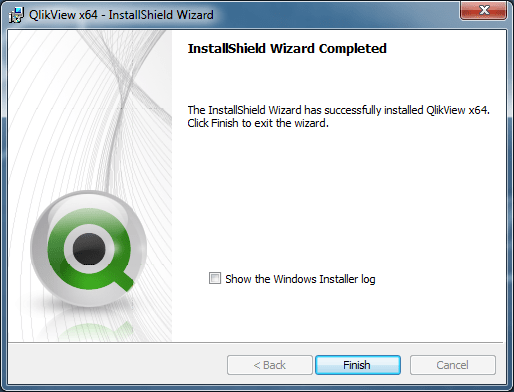
The installation is complete.  Click Finish.

QlikSense_Installation_windowsmenu             QlikSense_Installation_desktopicon
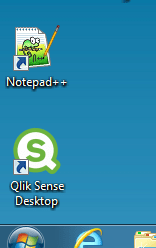
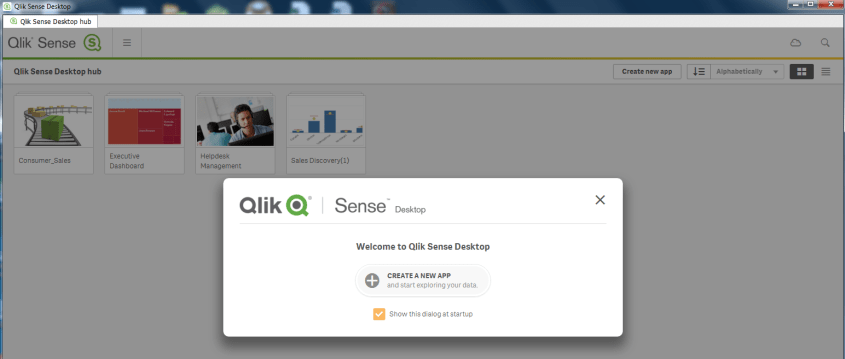
Either from the Windows menu or from the desktop icon, launch Qlik Sense.

QlikSense_Installation_launch
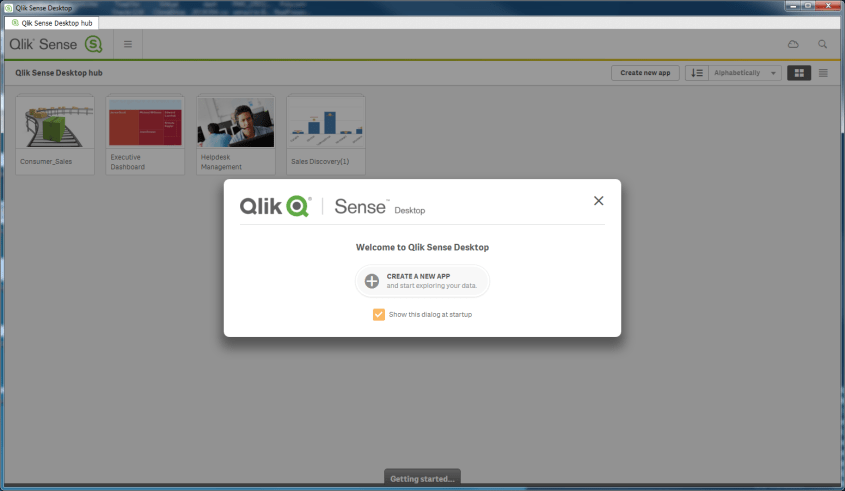
You are ready to start using Qlik Sense 3.0.  It’s that simple.

If you get an error message that reads … “An error occurred.  The service did not respond or could not process the request.” … then read the article on this site that addresses that issue to see how to resolve.

Qlik Sense Error on startup – The service did not respond or could not process the request

If you start the desktop version of Qlik Sense and get the following error message, this post might be helpful in resolving.

QlikSense_ServiceDidNotRespond_Loopback
An error occurred.  The service did not respond or could not process the request.

I ran into this error.  After doing a few searches to try to find the reason for this error, it turns out that this was a result of not having internet connectivity, and Qlik Sense 3.0 requires network connectivity.

To resolve, you can try again once you are somewhere that you have an internet/network connection, or you can create a loopback adapter, which will make Qlik Sense always have a network to connect to.

The following steps through how to install the loopback adapter on Windows 7.

Click the Windows Start icon, and type hdwwiz into the Search box.
QlikSense_ServiceDidNotRespond_Loopback_RunAddHardware

The wizard opens with the Add Hardware dialog …
QlikSense_ServiceDidNotRespond_Loopback_Welcome
Click Next.

QlikSense_ServiceDidNotRespond_Loopback_select
Select “Install the hardware …” option, and click Next

QlikSense_ServiceDidNotRespond_Loopback_networkadapters
Select “Network adapters” and click Next.

QlikSense_ServiceDidNotRespond_Loopback_msloopbackadapter
Select Microsoft (on the left), and then select Microsoft Loopback Adapter (on the right), and then click Next.

QlikSense_ServiceDidNotRespond_Loopback_install
Click Next

QlikSense_ServiceDidNotRespond_Loopback_install_complete
Click Finish.  After installing, Qlik Sense should launch without a problem.

QlikSense_ServiceDidNotRespond_Loopback_QSLaunch

QlikView vs. Qlik Sense

What is the difference between QlikView and Qlik Sense?  QlikView and Qlik Sense are both business intelligence platforms from the same company (Qlik), but are different products. Qlik Sense is not just a new version or release of QlikView.

The below table shows the differences and similarities between the 2 products:

QlikView Qlik Sense
First version released in 1996 First version released in 2014

Data Discovery

Same analysis/calculation engine – scripts and formulas will mostly work between the 2 platforms

Same green-gray-white (included-excluded) functionality

Both products/platforms will be enhanced and supported for the foreseeable future

Guided Analytics – drill-down and drill-through

Self-service data analytics and visualization

Dashboards and analytics/reports built by developers and pre-canned and configured for flexible user interaction Metadata for reporting developed by developers, and users create analytics
Users typically do not have the ability to create new analysis, but use the various features built to slice and dice the data. Users slice and dice the data in any creative manner that they see fit.
Open APIs allow for embedding Qlik Sense into website and other applications, and also for extending the application.
Cutting edge web interface – Responsive web interface – adapt to different screen sizes – from PC to tablet to phones – on any HTML5-compatible browser
Collaboration and story telling
Extensive Pixel-perfect formatting options

Which is better?  It depends.

If you have a user base and business needs that require answers to specific questions, without the need for user self-service BI, then QlikView is a good option.  Also, for very high control over all features of the visualizations you create, QlikView is the better choice.

However, if you have a sophisticated user base that desires to create their own analyses and business needs are more toward data discovery, then Qlik Sense is a good option.  Also, if you plan to or would like to make analytics available on all kinds of devices, then Qlik Sense is the way to go due to the responsive web design interface.

Of course, there will be other factors such as cost, and available resources and skills within the BI Team and supporting teams.  As with any software choice, a full analysis of the options and how they best meet the requirements is needed.

What is Qlik Sense?

Qlik Sense is a business intelligence platform with strengths in self-service usage, data discovery, and visualization.  Qlik Sense is from the same company that develops QlikView, but it is a totally different product. It is not an upgrade to QlikView or a new version of QlikView. However, it provides the core functionality that QlikView offers – such as in-memory storage and processing, the included-excluded/green-white-gray feature, and associative data model; with some additional features and benefits – such as usability, cloud readiness, responsive design, data storytelling, and open APIs.

Qlik Sense is available in 3 editions – desktop (for use on a personal computer for a single-user), enterprise (create and consume via a web interface for the entire enterprise), and cloud (create and consume via web interface on any device while hosted on the Qlik cloud).

You can learn more about Qlik Sense, QlikView, and Qlik (the company that creates these software) by visiting the company’s website at: http://www.qlik.com/.

What is QlikView?

QlikView is a business intelligence platform.  It allows for quick development and deployment of business intelligence and analytics applications, and for easy consumption of those applications through the web by those authorized.

QlikView has a unique associative data model feature that allows for all of the data to be used for analysis without pre-defined drill-down or drill-through relationships.

QlikView also has an included-excluded type display feature (sometimes referred to with the phrase … the power of green-white-gray) that allows users to not only see what data is included in the selected set, but also see what data is not included, thereby enabling data discovery.

QlikView holds data for its applications in memory, which allows it to deliver results quickly without the need for pre-calculated / pre-aggregated cubes.

These features help to differentiate QlikView from other BI platforms, and are some of the reasons for its growth and its leadership position in the BI space.

You can learn more about QlikView and the company that creates this software, Qlik, by visiting the company’s website at: http://www.qlik.com/.

QlikView Desktop Installation

In this post, I will go through the simple process of installing QlikView Desktop.

From the Qlik website (www.qlik.com), navigate or search for the download.  Download the Free Personal Edition of QlikView. You will need to register to download.


Click the FREE DOWNLOAD button to download the software.QlikView_Installation_Download

After the download is complete, navigate to where you downloaded the software.  Double-click on the executable to run the program and start the install wizard, or in some cases, you may need to Right-click and select Run as administrator.

QlikView_Installation_Run

Choose your language and click OK.

QlikView_Installation_Lang

The Install Wizard is prepared.

QlikView_Installation_Wizard

Click Next at the Welcome dialog.

QlikView_Installation_WizardWelcome

Accept the license agreement and click Next.

QlikView_Installation_license

Enter Name and Organization name.

QlikView_Installation_cust

Accept the default directory or choose / enter the directory to which QlikView should be installed. The example below shows a non-default directory selected.

QlikView_Installation_choosefolder

Click Next to confirm the destination folder.

QlikView_Installation_destinationfolder

Choose Complete installation type (makes sense in most cases).

QlikView_Installation_type

Click Install to start the installation

QlikView_Installation_ready

It’s Complete. Click Finish.

QlikView_Installation_complete

Go to the Windows Start menu and navigate to QlikView. Launch the program.

QlikView_Installation_windowsmenu

QlikView launches.

QlikView_Installation_launch

You have successfully installed QlikView and you are ready to get going. It’s that simple.


“The connection has failed” Error when trying to Import Metadata into OBIEE

If you get the error “The connection has failed” when you try to Import Metadata into the RPD, this post may help you to resolve it.

The solution is to: Create an Environment Variable called TNS_ADMIN and set its value to the directory of your tnsnames.ora file.
The TNS_ADMIN variable tells Oracle Client where to find the tnsnames.ora file which contains your data source details.

In case you need the details:
Click the Windows Start menu –> Right-Click on Computer –> select Properties
Then click on “Advanced system settings” on the left.
Advanced_System_Settings

Click the “Environment Variables” button.
Then in the Environment Variables window, click New.
Enter the details for the TNS_ADMIN variable.  The value needs to be the path to your tnsnames.ora file, typically located at [ORACLE_HOME]networkadmin. The path will look something like the value shown below (it depends on where Oracle is installed on your system).
TNS_ADMIN_Environment_Variable

 Hope this helps.

WebLogic startup failure – BackendRoot cannot cast to BackendStandard

My colleague from a previous company contacted me recently to help with a problem. OBIEE was not starting up.  They had a power failure the night before, and then OBIEE would not start up.  The system is OBIEE 11g on Linux.

This is the error that was generated when trying to start the WebLogic Admin Server…

——-

<Mar 28, 2014 9:11:35 AM EDT> <Critical> <WebLogicServer> <BEA-000362> <Server failed. Reason: There are 1 nested errors: java.lang.ClassCastException: com.octetstring.vde.backend.BackendRoot cannot be cast to com.octetstring.vde.backend.standard.BackendStandard         at weblogic.ldap.EmbeddedLDAP.start(EmbeddedLDAP.java:303)         at weblogic.t3.srvr.SubsystemRequest.run(SubsystemRequest.java:64)         at weblogic.work.ExecuteThread.execute(ExecuteThread.java:209)         at weblogic.work.ExecuteThread.run(ExecuteThread.java:178) > < Mar 28, 2014 9:11:35 AM EDT> <Notice> <WebLogicServer> <BEA-000365> <Server state changed to FAILED> < Mar 28, 2014 9:11:35 AM EDT> <Error> <WebLogicServer> <BEA-000383> <A critical service failed. The server will shut itself down> < Mar 28, 2014 9:11:35 AM EDT> <Notice> <WebLogicServer> <BEA-000365> <Server state changed to FORCE_SHUTTING_DOWN>

——– 

After trying a few things that did not resolve the issue, an online search helped with the solution. This post was very helpful: https://community.oracle.com/thread/2285489?tstart=0

After reading through the post, we went to the below directory on the OBIEE server (Linux) and examined its contents:

$MIDDLEWARE_HOME/user_projects/domains/bifoundation_domain/servers/AdminServer/data/ldap/ldapfiles

[oracle@[SERVERNAME]]$ cd /u01/product/middleware/user_projects/domains/bifoundation_domain/servers/AdminServer/data/ldap/ldapfiles [oracle@aeledwpbi ldapfiles]$ ls -l total 11308

-rw-r—– 1 oracle oinstall 10071624 Mar 27 08:40 changelog.data
-rw-r—– 1 oracle oinstall    56940 Mar 27 08:40 changelog.index
-rw-r—– 1 oracle oinstall   804359 Mar 27 08:40 EmbeddedLDAP.data
-rw-r—– 1 oracle oinstall     2028 Jun 25  2013 EmbeddedLDAP.delete
-rw-r—– 1 oracle oinstall     3576 Jun 25  2013 EmbeddedLDAP.index
-rw-r—– 1 oracle oinstall        0 Mar 28 12:36 EmbeddedLDAP.lok
-rw-r—– 1 root   root       615242 Mar 27 08:40 EmbeddedLDAP.tran
-rw-r—– 1 oracle oinstall        8 Mar 27 08:40 EmbeddedLDAP.trpos
-rw-r—– 1 oracle oinstall        8 Mar 27 08:40 EmbeddedLDAP.twpos

Note how one of the files (EmbeddedLDAP.tran) is owned by “root”. It seems the power outage caused something unusual to happen resulting in “root” being assigned ownership of the file.

After having the system administrator change the owner from “root” to “oracle” (the OBIEE admin user), we were able to start the OBIEE system back up.

It’s all about the users – Identifying Users for your BI applications / dashboards

One of the first things you will need to do before developing your Business Intelligence (BI) applications or dashboards is … identify who will use it.  You need to identify who will be using the application – what business areas they belong to, what groups they belong to, what are the various functions or roles within those groups, and eventually, who are the actual people.  After identifying the various roles (groups of users typically associated with a business process or function), then you can identify their needs.  Starting any development before knowing who will be using the system could result in a lot of wasted time and effort or a sub-optimal system.  The grouping of information on dashboards, the available functionality and security will be driven by these roles and their respective needs.

After identifying the various functions or roles that users posses, then it is important to understand how each role performs their job functions.  You need to understand what information they need and in what order, how it’s used, and the level of detail required at various stages. With this information, you will determine the dashboards, dashboard pages and their order, the information on each dashboard page and its precedence and level of detail, and what detailed information is needed via drill down. Basically, you will be creating the analytic workflows for the identified roles and the various processes, functions and tasks that they perform.

When performing the above exercise, please be as discrete as possible.  For example, even if someone doubles as an AP/AR Analyst, you should still analyze and plan for 2 separate roles – AP Analyst and AR Analyst – because those are 2 separate functions.  Later, the individual or group can be granted permissions to both roles.  From a security standpoint in general, you will create the necessary BI application roles to support your business roles.  And then assign security based on these roles.

In general, always keep the focus on the users, what they need to accomplish, and the most efficient ways to help them perform their jobs.  When you build the BI security and dashboards to meet those needs and usage scenarios, it will result in higher and faster user adoption.  This will take time, so do not rush the process.  Get detailed information about all the steps in their workflow upfront, document it, and then build around it.  However, on the other hand, you do not have to document to perfection upfront, you can take a more agile approach of developing based on fairly good user profiles to give users working prototypes, and then adjusting as new information and feedback is received from the users.

Good luck identifying your users and their needs as you get your BI project rolling.  And remember, it’s all about the users!